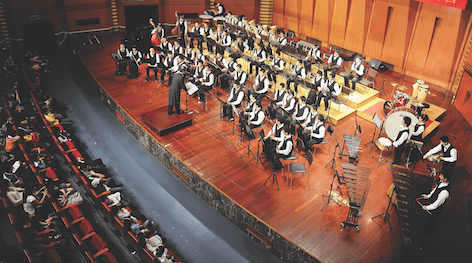
 As we approach festival season, recording your ensemble is essential for many reasons.
1.) We can’t catch everything in class.
As directors, we cannot hear and address every detail during a run through of a piece, so a quality recording will allow us to listen back later and plan for the next rehearsal.
2. Students need to hear the entire group to learn ensemble skills.
As we try to instill the principles of blend, balance, intonation, phrasing, etc. into our students, it is important for them to listen to themselves in order to hear growth and understand what we are asking for as directors.
3. Peer Evaluations.
When preparing for competition, it is wise to have guest clinicians come hear your band or orchestra and offer feedback, but this can be difficult to schedule since we are all teaching at the same time during the day. Using recordings allows us to gather valuable peer reviews in reparation for the big performance.
4. Concerts
Students benefit greatly from peak experiences, and their performances are certainly the highlight of being in a musical ensemble. It is important for students to have a quality recording of their experience.
In order to benefit from using recordings as a teaching tool, is it imperative that we record and listen with proper audio quality. If your recording does not sound like what you hear on the podium, don’t use it! Luckily, high-quality digital recording is more accessible and affordable than ever.
There are many portable recording tools on the market today, but some sacrifice sound quality and dynamics, leaving you with a recording that is inaccurate. I would recommend setting up an interface with proper recording mics in your classroom. There are easy and affordable ways to turn your music room into a recording studio with professional audio quality. The following tutorial will give you simple steps to get started.

Figure 1: Stereo Recording Diagram
Use a stereo pair of small diaphragm condenser microphones in an XY pattern, shown in Figure 1.
Condenser mics are sensitive enough to pick up all the subtle nuances of your ensemble, but can also handle the large frequency and dynamic range of a wind band. The XY pattern allows the microphones to pick up a stereo image, while having the sound hit both microphone capsules at the same time to avoid audio phasing.

Figure 2: AudioBox iTwo USB Recording Interface
In order to power condenser microphones and convert the audio into a CD-quality digital format, you need an audio interface, shown in Figure 2. This device is powered from your USB port and essentially serves as an external sound card, with much better audio quality than what is built into your computer. Make sure your interface can record at least 44.1K and 24 bit, has two microphone preamps, and has stereo audio outputs.
The input volume control for your recording is on the interface. Use these knobs to set the recording levels by ensuring the loudest sound the ensemble will make will not peak the input meters in your software, shown in Figure 3.

Figure 3: Studio One Recording Input Meters
Software actually does sound different, so it is important to find a recording software program, called a Digital Audio Workstation (DAW), that is used by professionals. Many companies make lighter versions of their software, such as Pro Tools LE, Cubase LE, or Studio One Artist. I would strongly suggest buying a recording interface that includes software, so you know the products are configured to work together. There is even an entire Stereo Recording bundle on the market that includes the interface, software, and condenser mics.
Exporting Audio and Sharing Files
Once you have your recording, you can instantly playback through your recording interface or save the file for future listening. The .wav format is the highest quality, so I would suggest using that at all times. This is a larger file size, so if sharing it you can use cloud storage like Dropbox, One Drive, or Google Drive. If you compress your file as an MP3 or a smaller quality, you are sacrificing audio quality, which will make for an inaccurate recording.
In the next two installments, this series will cover additional mic placement options, how to edit recordings, monitors for playback, and using EQ to “sweeten” up a recording.


